Disclosure: I am a Mother Goose Time blog ambassador. I receive the Mother Goose Time curriculum free of charge in exchange for sharing my experiences with you. All of the thoughts and opinions expressed in this post are my own. You can see more about Mother Goose Time here: https://www.mothergoosetime.com/
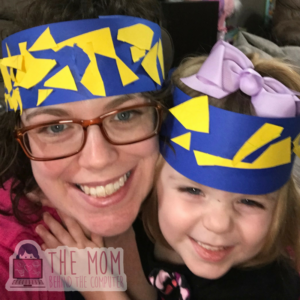
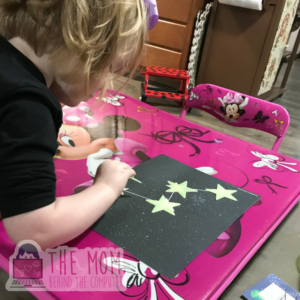
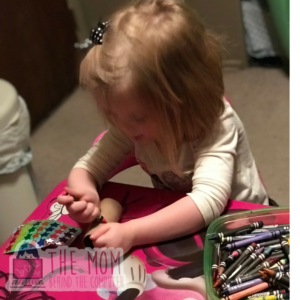
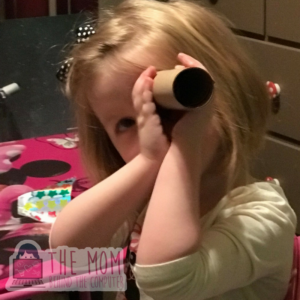
To say my little Mudpie loves the creative arts is an understatement. Crayons, paint, chalk, glue (oh, yes, ESPECIALLY glue)… she loves being able to create something new. It’s one of the only activities that will hold her preschooler attention for more than a few minutes at a time. She also loves creating her own dances and shows to perform for us.
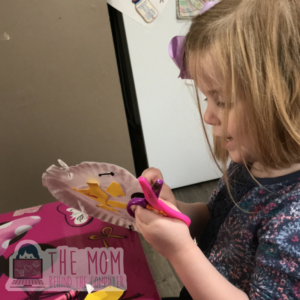
I also can see how much she’s learning during her creative arts times as well. Her fine motor skills are developing and growing. She’s growing her creativity and problem solving skills. I love seeing how fun this type of learning is for her (and me too)!
Despite our daily creative arts habit, I must admit that it didn’t occur to me to regularly incorporate the creative arts into our planned learning time until we started going through the Mother Goose Time curriculum. I love how so many of the learning activities are built around the creative arts. The ideas and concepts that we are learning are lasting with her so much longer since they are built around these arts activities.
If you aren’t already incorporating the creative arts into your preschool at home time, it’s definitely a great addition to learning time for preschoolers. It’s a way of learning that is especially fun for kiddos and parents!